How to Set Up OpenClaw in 2026 (Complete Beginner Guide — macOS, Linux, Windows)
If you have been hearing about OpenClaw on Reddit threads and YouTube tutorials and want to finally get it running yourself, this guide is for you. The OpenClaw setup process in 2026 is cleaner than ever, but there are still a handful of traps that catch beginners every single time. Follow these steps in order and you will have a working AI agent connected to your messaging app in under 30 minutes.
What is OpenClaw and Why Set It Up?
OpenClaw is a self-hosted AI agent framework that lets you run a persistent, memory-capable AI assistant connected to your real life: your email, your calendar, your files, your messaging apps. Unlike cloud chatbots, OpenClaw runs on your machine (or your server), which means your data stays yours and the agent keeps working even when you close the browser tab.
The OpenClaw setup guide below covers everything from prerequisites to your first working command. By the end, you will have a real agent responding to messages, not just a demo.
Prerequisites: What You Need Before You Start
Before running a single install command, make sure you have all three of these in place. Skipping any one of them accounts for the majority of failed setups reported in the community.
1. Node.js 22 or Higher
OpenClaw requires Node.js 22+. Many machines ship with older versions, and this is the number one silent failure mode. Check your version first:
node --versionIf you get anything below v22, install the latest LTS from nodejs.org or use a version manager like nvm:
nvm install 22
nvm use 22
2. An LLM API Key
OpenClaw needs a language model to think. You have three main options:
- Anthropic (Claude): Best quality, most community-tested. Get a key at console.anthropic.com. Recommended for beginners.
- OpenAI (GPT-4o): Widely supported, good fallback option.
- Ollama (local models): Free, fully offline, but requires a machine with enough RAM (at least 16 GB for a useful model). Best for privacy-first setups.
Have your API key ready before continuing. You will need it in Step 3.
3. A Messaging Platform Account
OpenClaw connects to messaging apps so you can talk to your agent naturally. Telegram is by far the easiest to connect and the most reliable. Create a Telegram account if you do not already have one.
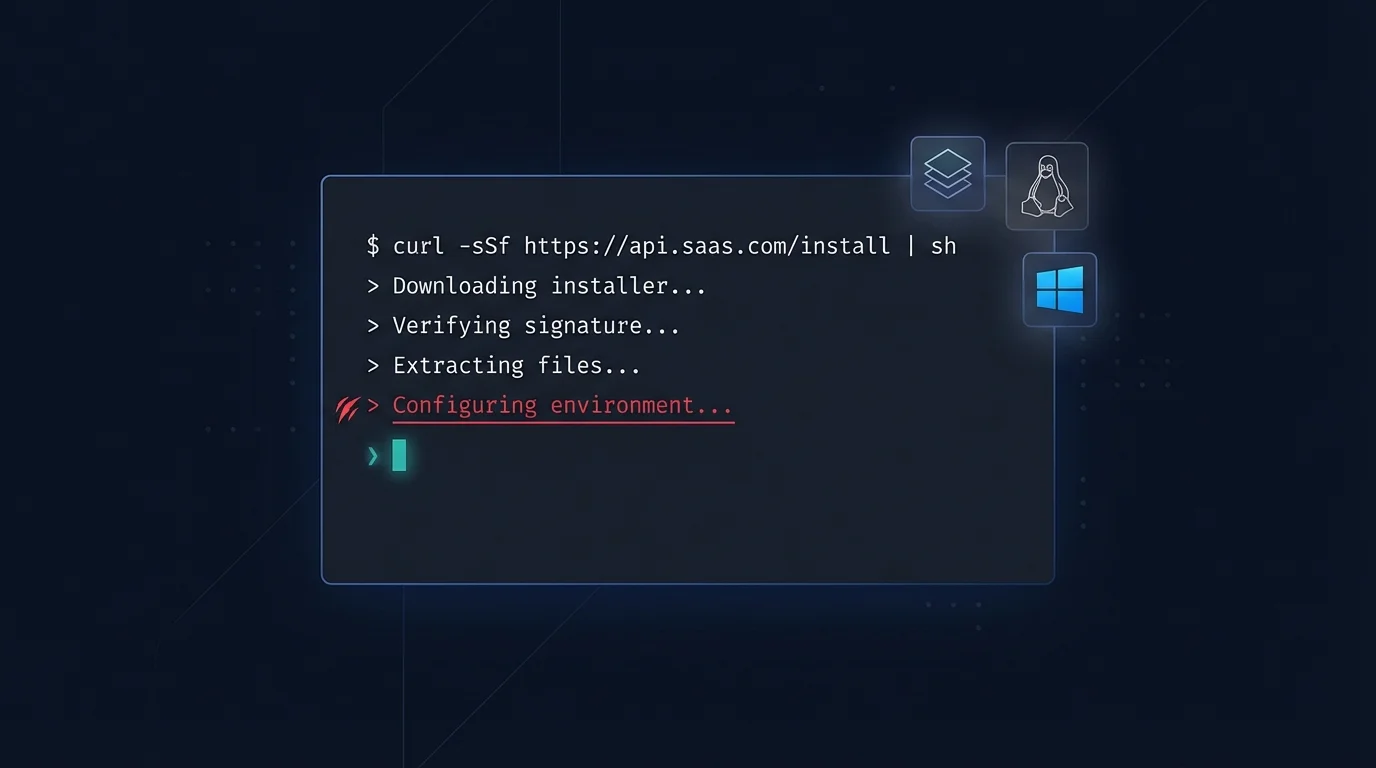
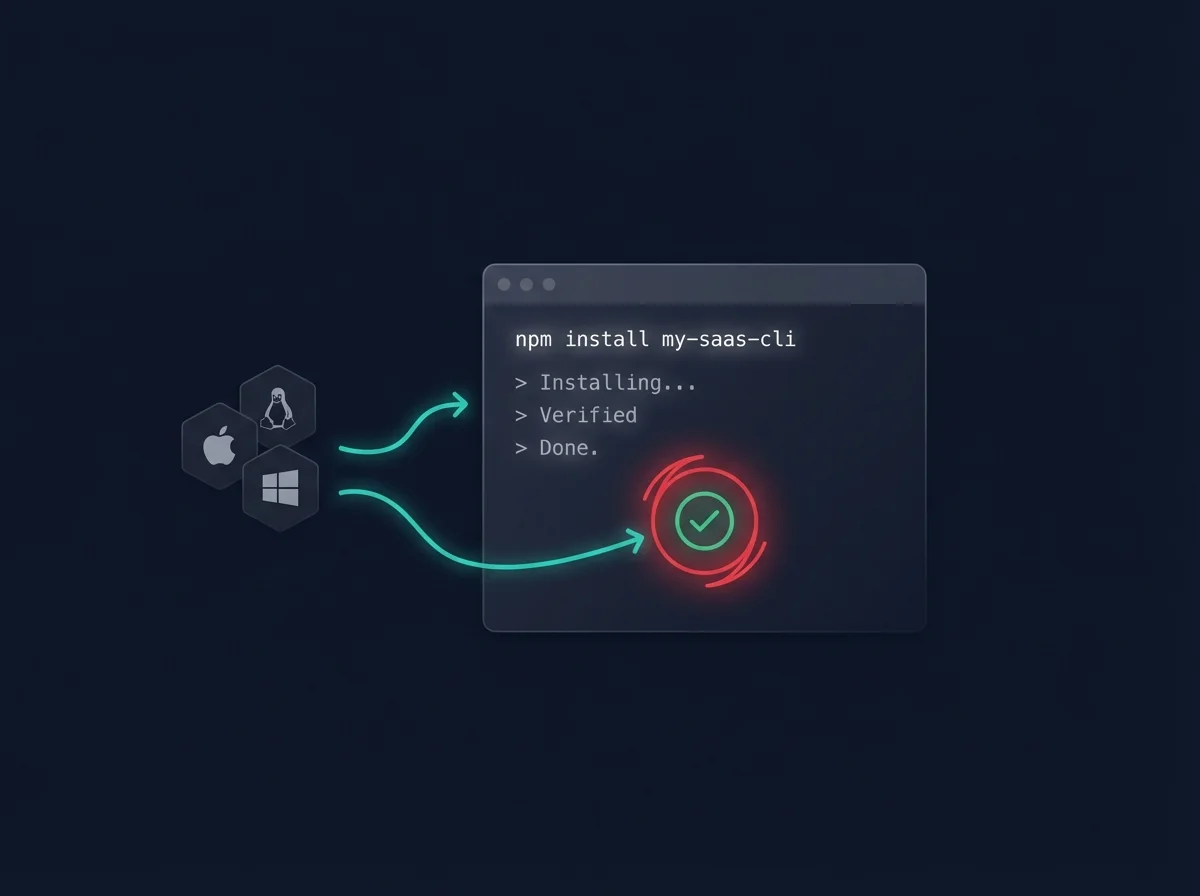
Step 1: Install OpenClaw
There are three official install methods. Pick the one that matches your situation.
Method A: npm Global Install (Recommended for Most Users)
This is the fastest path and works on macOS, Linux, and Windows with WSL2.
npm install -g openclawVerify the install worked:
openclaw --versionYou should see a version number. If you get "command not found", your npm global bin directory is not in your PATH. Fix it with:
export PATH="$(npm root -g)/../.bin:$PATH"Add that line to your ~/.zshrc or ~/.bashrc to make it permanent.
Method B: Docker
Docker is the cleanest option if you want complete isolation or are running on a headless server.
docker pull openclaw/openclaw:latest
docker run -d --name openclaw \
  -v ~/.openclaw:/root/.openclaw \
  -p 127.0.0.1:3000:3000 \
  openclaw/openclaw:latest
The 127.0.0.1 bind is critical here. More on that in the security section below.
Method C: From Source
For contributors or people who want to run unreleased features:
git clone https://github.com/openclaw/openclaw.git
cd openclaw
npm install
npm run build
npm link
Step 2: Initialize Your Workspace
Run the init command to create your configuration and workspace directory:
openclaw initThis creates a ~/.openclaw directory with a default config file. It also prompts you to choose your primary LLM. Select your provider and paste your API key when asked.
Your workspace is where your agent lives: memory files, skills, and personal notes all go here. You can inspect it at ~/.openclaw/workspace/ or configure a custom path in the config.
Step 3: Configure Your LLM Connection
Open the config file at ~/.openclaw/config.yaml in any text editor. The key section looks like this:
llm:
  provider: anthropic
  model: claude-sonnet-4-5
  apiKey: sk-ant-YOUR-KEY-HERE
For OpenAI:
llm:
  provider: openai
  model: gpt-4o
  apiKey: sk-YOUR-KEY-HERE
For Ollama (local):
llm:
  provider: ollama
  model: llama3.2
  baseUrl: http://localhost:11434
Save the file. You can verify the connection works by running:
openclaw checkA successful check prints your provider name and confirms the API key is valid.
Step 4: Start the Gateway
The Gateway is the background service that keeps your agent alive and handles incoming messages. Start it with:
openclaw gateway startCheck that it is running:
openclaw gateway statusCritical: Bind to 127.0.0.1, Not 0.0.0.0
This is the most important security setting in the entire OpenClaw setup guide. By default, the Gateway binds to 127.0.0.1 (your local machine only). Some guides online tell you to change this to 0.0.0.0 so it is reachable from other devices on your network. Do not do this unless you know exactly what you are doing.
Binding to 0.0.0.0 exposes your agent to your entire local network and, if your firewall is misconfigured, potentially to the internet. Your agent has access to your files, email, and other sensitive tools. A public-facing Gateway is a serious security risk. Keep it at 127.0.0.1 and use the mobile companion app or Tailscale for remote access.
In ~/.openclaw/config.yaml, verify:
gateway:
  bind: 127.0.0.1
  port: 3000
Step 5: Connect Telegram
Telegram is the recommended first messaging platform because the setup takes about three minutes and the bot API is rock-solid. Here is how to do it.
Create a Telegram Bot
- Open Telegram and search for @BotFather.
- Send
/newbotand follow the prompts to name your bot. - Copy the API token BotFather gives you (it looks like
123456789:ABCdef...).
Add the Token to OpenClaw
In your config file, add the Telegram plugin:
plugins:
  - kind: telegram
    token: YOUR_BOT_TOKEN_HERE
Restart the Gateway:
openclaw gateway restartStart a Chat
Find your bot on Telegram (search for the username you gave it) and send /start. Your agent should respond within a few seconds. If it does not, check the Gateway logs:
openclaw gateway logs --tail 50Step 6: Install Your First Skill
Skills are what make OpenClaw genuinely useful. They give your agent structured capabilities: read email, check the weather, manage reminders, and much more. The skills system is modular, which means you add exactly what you need.
List the skills available in the official registry:
openclaw skills listInstall a skill (the weather skill is a good first one because it requires no configuration):
openclaw skills install weatherNow go back to Telegram and ask your agent: "What's the weather in Paris?" You should get a real answer.
The One Skill Rule for Day One
The most common mistake from the Reddit community threads is installing 10 or 15 skills on day one. Resist that urge. Each skill adds complexity and some require configuration (API keys, account credentials, file paths). Install one skill, get it working, understand how it behaves, then add another. A single working skill is worth more than a broken setup with 20 of them.
Step 7: Verify Everything Works
Run a quick sanity check across all the moving parts:
openclaw check --fullThis checks:
- Node.js version compatibility
- LLM API key validity
- Gateway status and binding
- Loaded plugins and their connection status
- Installed skills and their configuration
Green across the board means you are ready to go.
Common Mistakes (and How to Fix Them)
| Mistake | Symptom | Fix |
|---|---|---|
| Wrong Node.js version | SyntaxError or install failures | Run nvm install 22 && nvm use 22 |
| API key not saved | Agent responds with "no LLM configured" | Re-run openclaw init or edit config.yaml |
| Gateway not started | Bot does not respond on Telegram | openclaw gateway start |
| 0.0.0.0 bind | Gateway exposed to network | Change bind to 127.0.0.1 in config |
| Too many skills at once | Broken configs, confusing behavior | Start with one skill, add more gradually |
| Telegram /start never sent | Agent never responds | You must send /start to activate the bot |
| Docker binding to 0.0.0.0 | Port exposed publicly | Use -p 127.0.0.1:3000:3000 in docker run |
Platform-Specific Notes
macOS
macOS users should install Node.js via Homebrew rather than the official installer for easier version management:
brew install node@22
brew link node@22 --force --overwrite
If you run into permission issues with the npm global install, do not use sudo npm install -g openclaw. Instead, fix your npm prefix:
mkdir ~/.npm-global
npm config set prefix '~/.npm-global'
export PATH=~/.npm-global/bin:$PATH
Linux
On Ubuntu/Debian, use the NodeSource repository to get Node 22:
curl -fsSL https://deb.nodesource.com/setup_22.x | sudo -E bash -
sudo apt-get install -y nodejs
If you are running OpenClaw as a persistent service, use systemd to manage the Gateway rather than keeping a terminal session open.
Windows
Windows users should use WSL2 (Windows Subsystem for Linux) rather than running OpenClaw natively on Windows. The experience is much smoother and most community support assumes a Unix environment. Install WSL2 from the Microsoft Store, then follow the Linux instructions above inside your WSL2 terminal.
Native Windows support exists but is less tested. Stick with WSL2 unless you have a specific reason not to.
What to Do After Setup
Once your agent is responding on Telegram and you have one skill working, you are ready to go deeper. Here are the most valuable next steps, in order:
- Read your SOUL.md and USER.md files. These live in your workspace and tell the agent who it is and who it is helping. Customize them to match your actual setup.
- Add a second skill that solves a real problem. Email integration and calendar access are the two most popular first additions.
- Set up a cron reminder. Ask your agent to remind you about something in 30 minutes. If that works, your whole scheduling stack is functional.
- Review the security configuration. Read the full security guide to understand what permissions your agent has and how to lock them down appropriately.
Frequently Asked Questions
Do I need a paid API key to use OpenClaw?
No. You can run OpenClaw with a free Anthropic or OpenAI account (within their free tier limits), or completely free using a local Ollama model. The trade-off is response quality and speed. For personal use, the free tiers are usually sufficient to start.
Will using OpenClaw get my API key banned?
No, not from using it normally. OpenClaw uses official API endpoints the same way any other application does. What can get an account flagged is sharing credentials across multiple people or using the API to generate content that violates provider terms of service. Normal personal use is completely fine.
Can I run OpenClaw on a Raspberry Pi or VPS?
Yes. OpenClaw runs well on a Raspberry Pi 4 or any Linux VPS with at least 1 GB RAM (2 GB recommended if you run local models). The Gateway is lightweight. This is actually a popular setup for people who want their agent always on without running their laptop 24/7.
How do I update OpenClaw?
npm install -g openclaw@latest
openclaw gateway restart
OpenClaw Setup Guide 2026: You Are Ready
Getting OpenClaw running is genuinely straightforward once you know where the traps are. Node.js version, Gateway binding, and the one-skill-at-a-time rule eliminate 90% of the issues people run into. Everything else is just configuration.
The real payoff comes a week in, when your agent has learned your context, is checking your email proactively, and you realize you have not missed a calendar event in days. That is what a properly set up OpenClaw delivers. Follow this OpenClaw setup guide and you will be there before the weekend.
Ready to go further? Explore the skills system overview to see what your agent can actually do, or check the security guide to make sure your setup is properly locked down.